Can You Pass A Driving Test Money Farming Guide
Job rotation, fee planning, and Collectors’ Club budgeting that actually funds licenses.
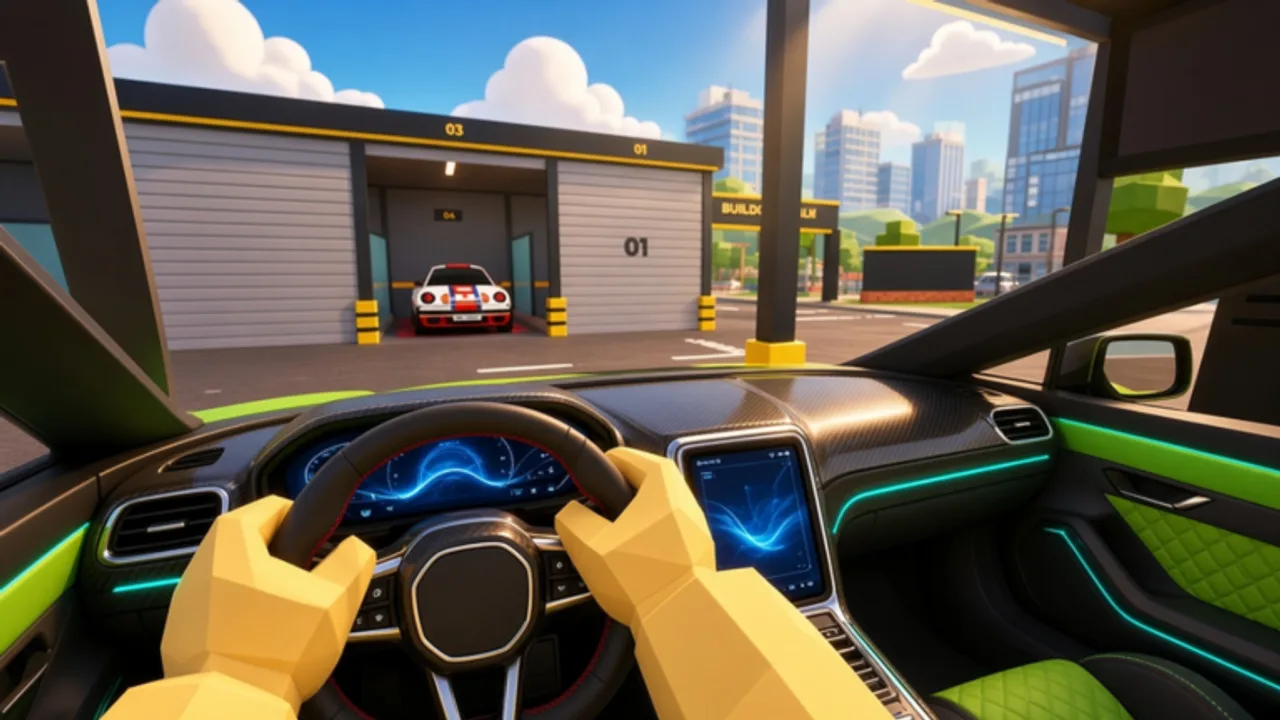
Cash is the gatekeeper in Can You Pass A Driving Test?. Every license fee, car upgrade, interior package, and Master payment comes from the same wallet you fill with pizza deliveries, lifts, trailer hauls, and VIP drives. This money farming guide shows how to rotate jobs, when to stop spending, and how Collectors’ Club goals fit beside serious progression—not instead of it.
New players should finish Getting Started first. Spend planning pairs with License Classes and Best Cars.
The earning loop
- Own a car that matches your license.
- Accept the best available job for your vehicle type.
- Drive cleanly—crashes waste time and can ruin timed routes.
- Cash in, immediately compare balance vs the next test fee.
- Only then buy cosmetics or speculative race cars.
If you cannot recite your next fee target, you are not farming—you are vibing. Vibing is fine after Class S; it is expensive before Class B.
Job types explained
Pizza delivery
Short, frequent routes. Ideal for Class D / C cars and for learning Nitro timing on straights. Stack several pizzas in a session to build rhythm.
Give lifts
Passenger trips reward smooth driving. Hard launches and curb hits feel bad for RP and can slow you down. Great mid-tier filler between unlocks.
Haul trailers
Trailer jobs favor stable Class B energy—trucks and capable haulers. Wider turns, earlier brakes, more payout potential per run. Practice spatial awareness here before precision exams feel impossible.
Drive VIPs
VIP routes are the prestige service job: treat them like mini tests. Clean arrival > chaotic Nitro spam. Use when you have a comfortable car and want denser cash.
Exact payout numbers shift with updates; rank jobs by cash per minute you personally observe after a patch, not by memory from a YouTube thumbnail.
Suggested rotation by license
| License stage | Primary jobs | Spend priority |
|---|---|---|
| Class D | Pizza, early lifts | Fee buffer → Class C |
| Class C | Pizza + lifts | Better daily driver → Class B fee |
| Class B | Trailers + VIP when available | Capable hauler / muscle → Class A fee |
| Class A–S | VIP + efficient routes + races side cash | Supercar / race prep → Master fund |
| Master chase | High-value mix + clean Driving Score play | Master fee before flex duplicates |
Fee planning (the real skill)
Create three mental buckets:
- Next license fee (untouchable)
- Next car upgrade (only after fee is safe)
- Fun budget (paint, plates, interiors, charms, nitro flames)
Interiors from Update #3 will tempt you. Buy the carbon/neon cabin after Class C is passed, not the night before the exam.
Collectors’ Club without going broke
Collectors’ Club pushes you to own more cars and chase rare numbered drops from Street Races crates and mystery containers. Smart collectors:
- Keep one job mule forever
- Park flex / numbered cars for display and trading
- Never trade away the only car that can complete VIP routes
- Convert duplicate numbered cars into progression cash or missing pieces—not into random lowballs
Races as income (secondary)
Street Races on High Street Loop, Canal Dash, Crown Hillclimb, and Coast Express can pay in crates and rares more than raw job wages. Treat them as variance income. When you need a guaranteed Class A fee by tonight, run jobs. When the fee is banked, queue races.
Codes and scripts (optional, careful)
- Codes Hub — currently no verified active promos specifically for this game; do not invent strings.
- Scripts / Auto Farm — can accelerate job loops but risk bans and phishing via key systems. Never automate on an account you cannot afford to lose.
Efficiency tips that stack
- Rejoin low-population servers if job boards feel contested (remember ~12 player caps).
- Use Nitro on long straights; save Flip Car for real tip-overs (Controls).
- Repair your route knowledge: repeated pizza paths become muscle memory worth more than a 5% faster car.
- After each failed test, farm enough to rebook and stay above your fun-budget floor.
- Peak concurrency (often 15K–25K) means more traffic—farm serious fees in calmer hours if you can.
Sample 45-minute farm session
- Check balance vs next fee (2 min).
- Run pizza/lifts until halfway to the fee (20 min).
- Switch to trailer/VIP if unlocked (15 min).
- Stop spending; note remaining gap (3 min).
- Optional single race crate attempt if fee is already safe (5 min).
Related pages
Money farming is not glamorous, but it is how Class S and Master actually happen. Rotate jobs, protect the fee bucket, and let cosmetics and numbered trophies come from surplus—not from the cash that should have paid for your next license stamp.
Frequently Asked Questions
Quick answers about licenses, cars, jobs, races, and codes.
What is the best job for beginners?
Pizza delivery and early lifts. They teach routes quickly and fund Class C without requiring heavy trucks.
When should I do Street Races for money?
After your next license fee is safely banked. Races are variance; jobs are steadier.
How do I budget for Collectors’ Club?
Keep a dedicated job mule, chase numbered cars with surplus cash, and use trading for duplicates instead of draining fee funds.
Are codes a good farm method?
Only when verified codes exist. Right now none are confirmed for this game—rely on jobs first.